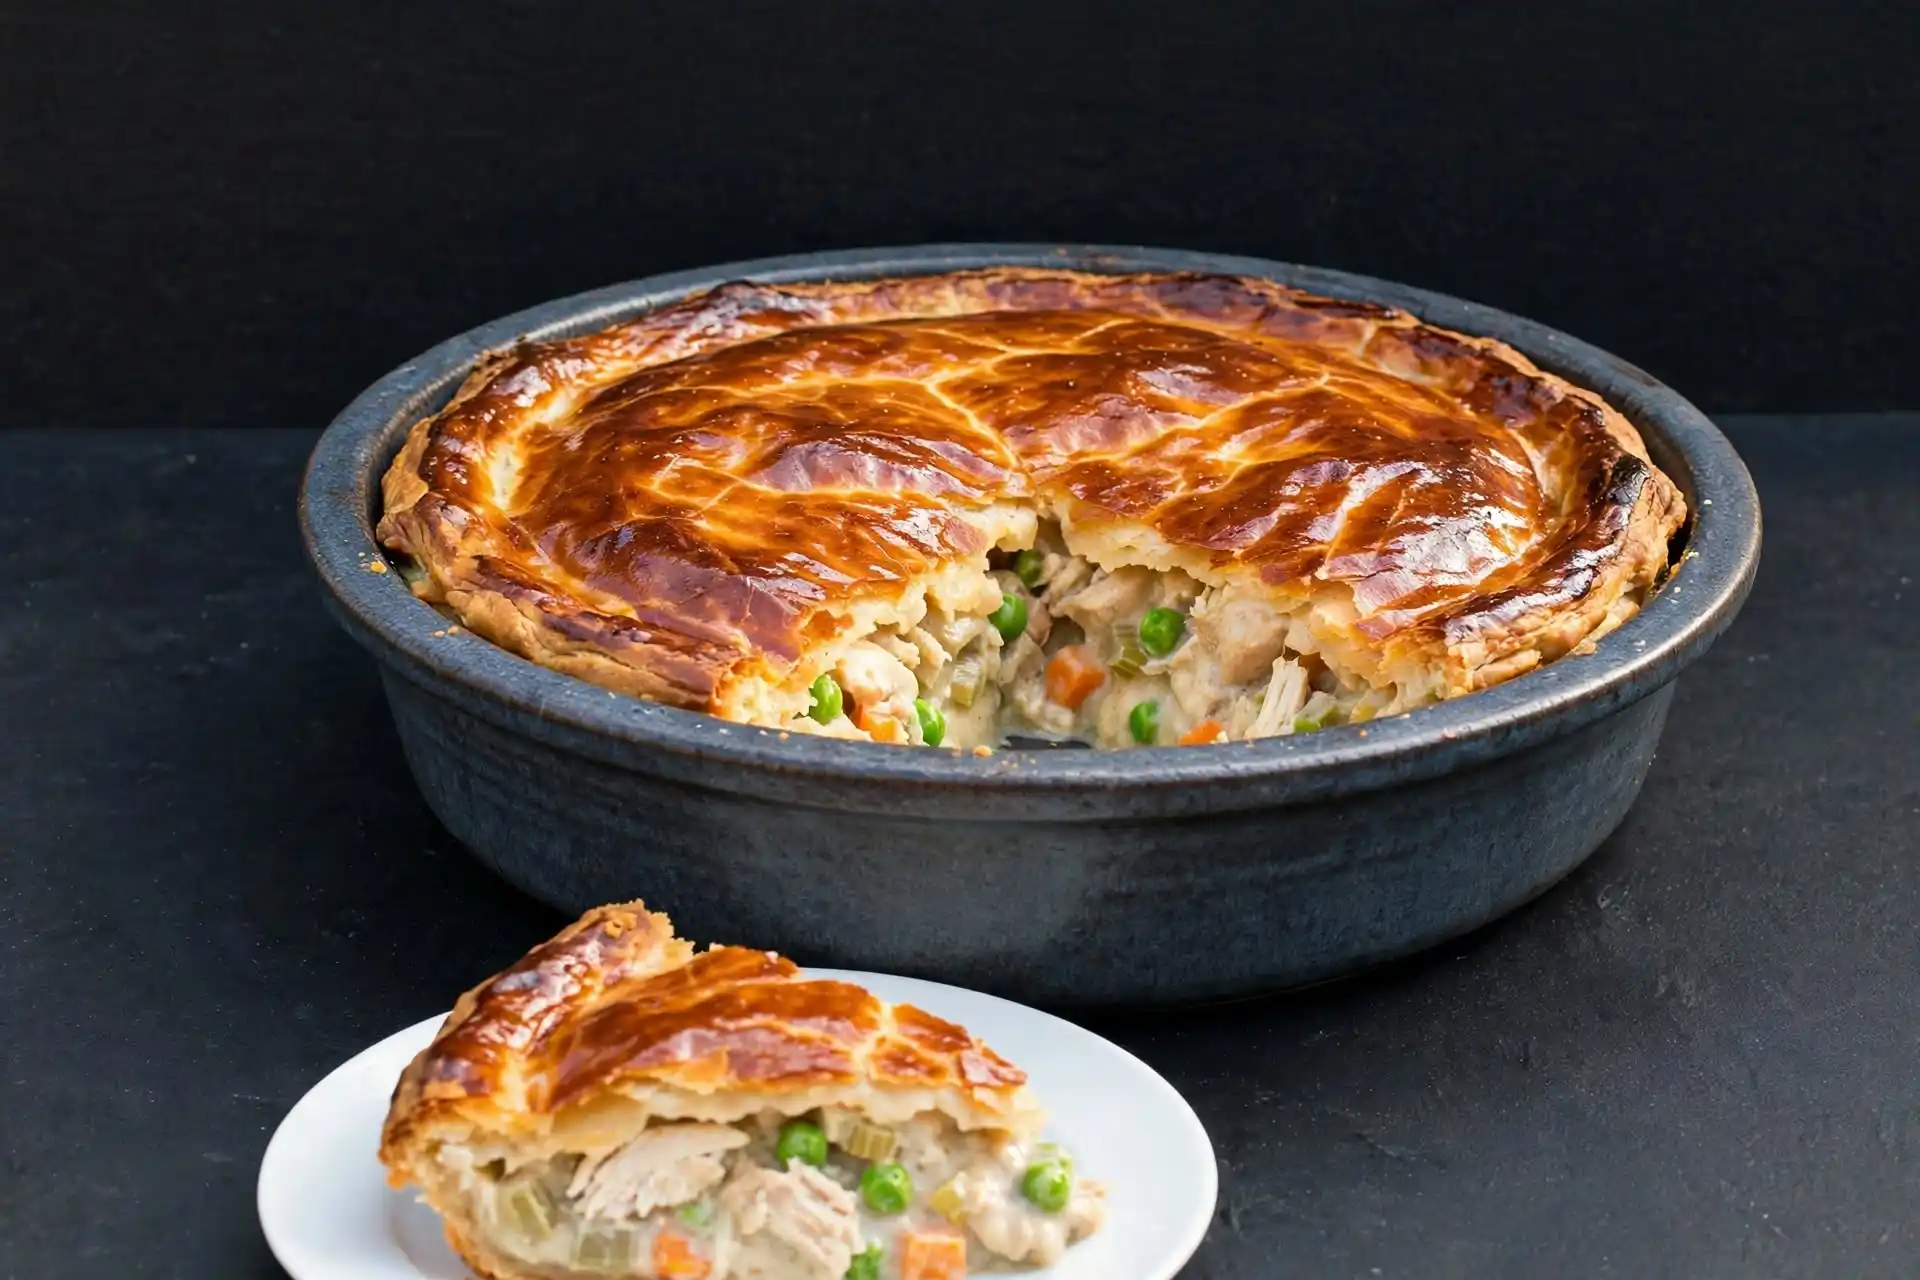
Classic Chicken Pot Pie (Buttery Crust, Creamy Filling, Made From Scratch)
My first chicken pot pie came out of the oven with a crust so pale I baked it another fifteen minutes just to get any color on it, and the bottom was still wet when I cut into it. That was four attempts and one very confused Thanksgiving guest ago. The version below is the one I’ve made almost every month since, tweaked mostly around two things: how long the roux cooks before you add liquid, and whether the filling goes under the crust hot or cooled.
Chicken pot pie sounds simple on paper. Chicken, vegetables, gravy, crust, done. But most versions come out one of two ways: soupy under a crust that never fully crisped, or thick enough to stand a fork up in and dry by the second bite. The filling here sits in between. It holds its shape when you lift a wedge but still pools a little around the fork. The crust goes on top of filling that’s fully cooled, which is the one step most recipes skip and the actual reason bottoms turn soggy nine times out of ten.
Why You’ll Love This Recipe
- One dish, no sides required. Protein, vegetables, and starch are all baked into the same pie, so on a weeknight you can serve it with nothing else and call it dinner.
- Uses up half a rotisserie chicken. This recipe calls for about 2 1/2 cups shredded chicken, which is roughly half of a standard store bought rotisserie bird. The other half goes into sandwiches or soup later in the week.
- Freezes whole, unbaked. Assemble two on a Sunday, bake one, and freeze the second directly in its dish. It goes from freezer to oven with no thawing.
- The crust is genuinely easy. Butter, flour, salt, and ice water. No stand mixer, no food processor required, just a bowl and your hands.
- Reheats without drying out. Because the base is a proper roux instead of a can of condensed soup, the gravy holds moisture through a third day in the fridge.
Quick Information
- Prep time: 25 minutes
- Cook time: 40 minutes
- Total time: 1 hour 20 minutes (includes 15 minutes for the filling to cool before assembly)
- Servings: 6
- Difficulty: Intermediate
- Calories: 480 kcal per serving
- Important tool: A 9 inch deep dish pie plate. A standard shallow pie plate will overflow once the filling is added.
- Best for: Sunday dinner, or a make ahead freezer meal for the weeks when nobody has energy to cook.
Nutrition Information
- Calories: 480 kcal
- Protein: 22g
- Carbohydrates: 38g
- Fat: 27g
- Fiber: 3g
- Sugar: 4g
- Sodium: 610mg
- Serving size: 1 slice (1/6 of the pie)
- Servings per recipe: 6
Most of the protein in this chicken pot pie comes from the chicken itself rather than the crust, and the fat is split fairly evenly between the butter in the crust and the roux in the filling. Cutting the crust to a single bottom layer instead of a full double crust drops the fat and calorie count noticeably if that matters to you.
Nutrition values are estimates calculated from the ingredients listed and will shift depending on the exact brands and cuts you use.
Ingredients
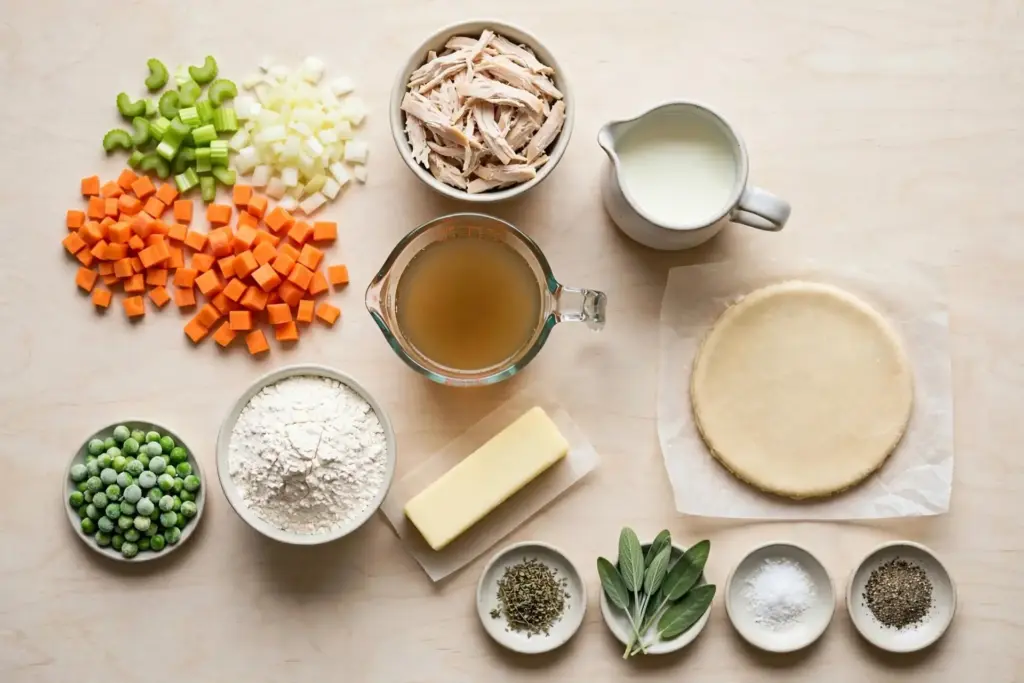
For the filling:
- 3 tablespoons unsalted butter
- 1 small yellow onion, diced
- 2 medium carrots, diced
- 2 celery stalks, diced
- 3 cloves garlic, minced
- 1/3 cup all purpose flour
- 2 cups low sodium chicken broth
- 1 cup whole milk
- 2 1/2 cups cooked, shredded chicken (a store rotisserie chicken works well here)
- 1 cup frozen peas
- 1 teaspoon dried thyme
- 1/2 teaspoon dried sage
- Salt and black pepper, to taste
For the crust:
- 1 double pie crust, homemade or store bought (two 9 inch rounds)
- 1 large egg, beaten, for the egg wash
A note on the chicken: rotisserie chicken keeps this fast, but leftover roasted or poached chicken breast works exactly the same. What matters is that it’s already cooked, since it only needs to warm through in the filling, not cook from raw. If you’d rather cook the chicken from raw specifically for this recipe, poach two boneless breasts in the broth called for above before you start the roux, then use that same broth for the filling so you’re not wasting flavor.
Equipment Needed
- 9 inch deep dish pie plate. A standard shallow one will overflow once the filling goes in.
- Large skillet or Dutch oven. Wide enough that the vegetables cook in a single layer instead of steaming in a pile.
- Whisk. Needed to keep the roux smooth as the broth goes in, a spoon will leave lumps.
- Rolling pin.
- Pastry brush, for the egg wash.
- Sharp paring knife, specifically for cutting steam vents cleanly through the top crust without dragging or tearing the dough.
Preparation
Take the pie dough out of the fridge about 10 minutes before you plan to roll it, cold dough cracks at the edges instead of folding smoothly. Dice the onion, carrots, and celery into pieces roughly the same size, around 1/4 inch, so they finish cooking at the same time. Shred the chicken if it isn’t already, and measure out the broth, milk, and frozen peas so they’re within reach once the roux starts, since that stage moves fast and you won’t have time to go digging through the fridge. Preheat the oven to 400°F once you’re ready to assemble, not before, there’s no reason to heat the kitchen while the filling is still cooling.
Step by Step Instructions
- Melt the butter in the skillet over medium heat. Add the onion, carrot, and celery, and cook for 6 to 7 minutes, stirring occasionally, until the onion edges turn translucent and the celery loses its raw snap when you bite a piece.
- Stir in the garlic and cook for 30 seconds, just until you can smell it, garlic burns fast and turns bitter if it sits any longer than that.
- Sprinkle the flour over the vegetables and stir to coat everything evenly. Keep stirring over the heat for about 90 seconds, until the raw flour smell fades and the mixture takes on a very light amber tint. This step is the one people skip most, and skipping it is why some pot pie fillings taste faintly like paste.
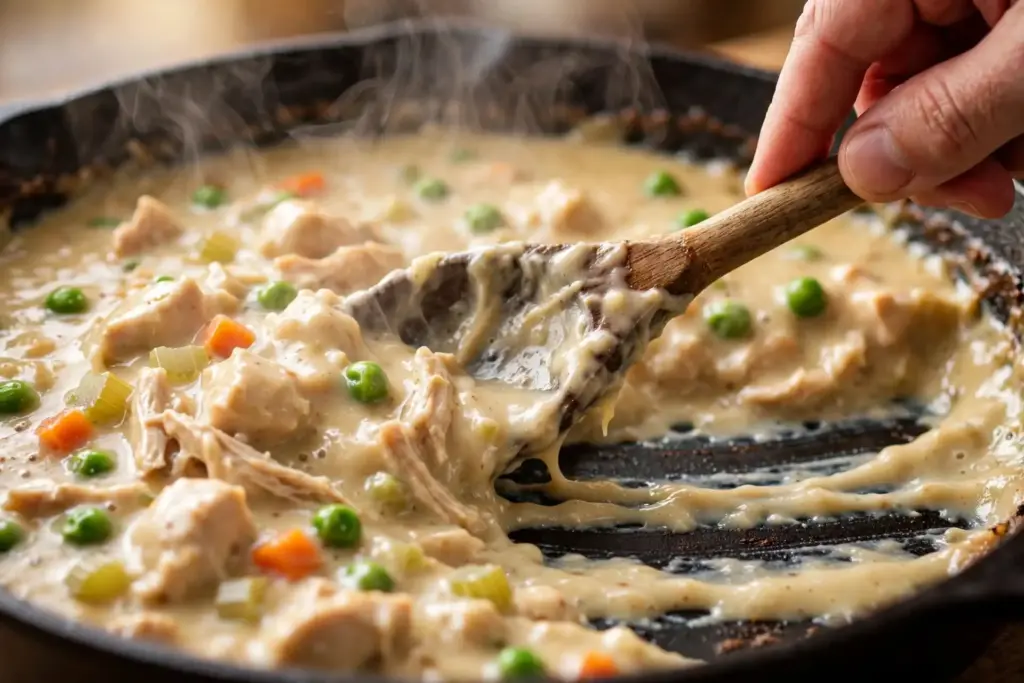
- Slowly pour in the chicken broth while whisking constantly, then whisk in the milk the same way. Bring the mixture to a gentle simmer.
- Keep simmering, whisking every minute or so, for about 5 minutes, until the gravy coats the back of a spoon and a line dragged through it with your finger holds its shape for a second or two before closing back in. That’s the thickness you want going into the pie, thinner than this and the filling runs when you cut a slice.
- Stir in the shredded chicken, frozen peas, thyme, and sage. Season with salt and pepper, then taste, this is the only point where you can adjust seasoning before it’s sealed under a crust.
- Take the skillet off the heat and let the filling cool for 15 minutes at room temperature before it goes anywhere near the crust.
Kitchen tip: Cooling the filling isn’t optional if you want a crisp bottom crust. Hot filling poured straight onto raw dough starts steaming the dough from underneath before the oven ever gets it hot enough to set, and that steam is exactly what turns a bottom crust gummy. Fifteen minutes on the counter is enough to bring it down out of the danger zone without the filling going cold.
- Roll out one crust and fit it into the pie plate, letting the excess hang over the edge. Pour in the cooled filling and spread it level.
- Roll out the second crust and lay it over the top. Trim the edges to about half an inch of overhang, fold that edge under itself, and crimp with your fingers or a fork.
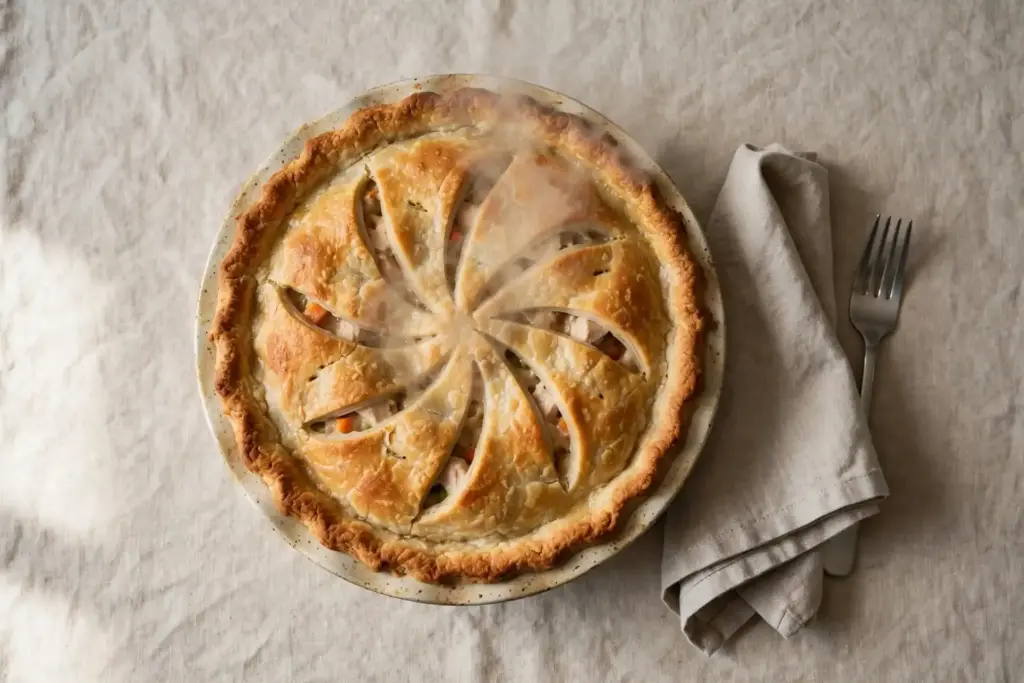
- Cut 4 to 5 steam vents in a pinwheel pattern radiating from the center, rather than one large slit in the middle. A single vent tends to blow filling out through that one spot, spacing them out lets steam escape evenly across the whole surface.
- Brush the entire top crust with the beaten egg, including the crimped edge, which is what gives it that deep color rather than a pale, flat finish.
- Bake at 400°F for 35 to 40 minutes, until the crust is a deep golden brown all over and you can see the filling actively bubbling up through the vents, not just steaming faintly. If the edges start browning too fast before the center catches up, loosely tent them with foil for the last 10 minutes.
- Let the pie sit for 15 minutes before cutting. The filling is still around 175°F when it comes out of the oven and needs that time to firm back up, cut it straight from the oven and the first slice will collapse into soup on the plate.
Chef’s Notes:
- If your kitchen runs warm, chill the assembled, unbaked pie in the fridge for 15 minutes before it goes in the oven. Warm dough spreads instead of holding its crimped shape as it bakes.
- A glass pie plate lets you actually see the bottom crust browning, which is the best way to judge doneness on the bottom, not just the top.
- Don’t skip tasting the filling in step 6. Broth brands vary a lot in sodium, and it’s the last moment you can fix that before everything is sealed under dough.
Expert Tips & Tricks
- My biggest early mistake was adding raw chicken breast directly into the simmering gravy and letting it cook there for 15 minutes. By the time the filling thickened, the chicken had gone stringy and dry. Cooked chicken added at the very end, just to warm through, stays tender.
- Make ahead: the filling can be made up to 2 days ahead and stored in the fridge separately from the dough, then assembled cold the day you plan to bake.
- Storage shortcut: portion leftovers into individual containers the same night you bake, rather than one large pie in the fridge, so a single reheated slice doesn’t dry out the crust of the rest.
- For a flakier crust, keep the butter cold right up until it hits the flour, and if the kitchen is warm, chill the mixing bowl in the freezer for 10 minutes first.
- Texture tip: dice the vegetables uniformly. Uneven pieces mean the carrots are still firm while the celery has gone mushy by the time everything’s cooked through.
- Time saver: a store bought rolled crust works fine here and saves about 20 minutes, the filling is what carries most of the flavor.
- If the filling looks thin after step 5, don’t add more flour directly, it will clump. Mix a teaspoon of flour with a tablespoon of the warm gravy in a separate small bowl first, then whisk that back in.
Common Mistakes & Troubleshooting
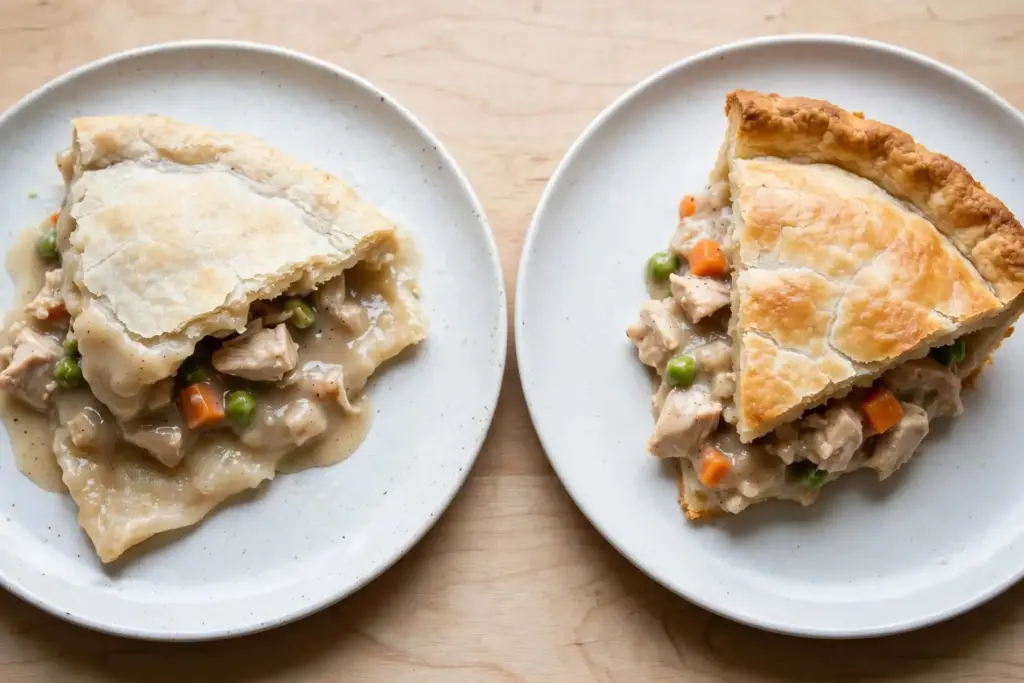
- Soggy bottom crust. This happens when hot filling is poured onto the raw dough, or when the pie is baked on a low oven rack where heat doesn’t reach the bottom well. Cool the filling fully before assembling, and bake on the lowest oven rack so the bottom gets direct heat.
- Runny filling once cut. Usually means the roux didn’t cook long enough, or the gravy was pulled off the heat before it actually coated a spoon. Go back to the spoon test in step 5, don’t rely on a timer alone since stove heat varies.
- Dry, stringy chicken. Comes from cooking raw chicken directly in the simmering gravy for too long. Use already cooked chicken and add it near the end, just long enough to heat through.
- Crust burns before the center is hot. Your oven may run hot, or the edges are simply thinner than the middle from rolling. Tent the edges with foil once they’ve reached the color you want, and let the center keep baking uncovered.
- Bland filling. Comes from seasoning only once at the very end. Salt the vegetables while they sauté, salt again when the broth goes in, then taste a final time in step 6, seasoning in layers builds more depth than one large addition.
- Tough, cracked crust. Usually from overworking the dough or letting the butter get warm while rolling. Handle it as little as possible, and if it starts sticking or getting soft, chill it for 10 minutes before continuing.
Read Also: ground chicken recipes
Storage Instructions
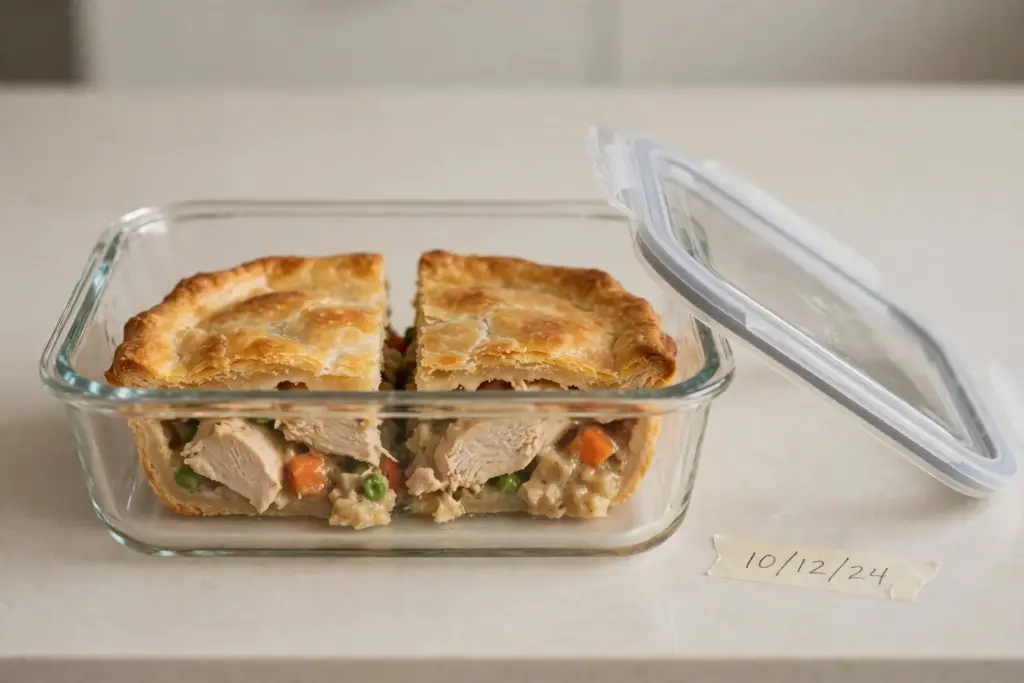
- Room temperature: don’t leave the pie out longer than 2 hours after baking, chicken filling isn’t safe sitting out longer than that.
- Refrigerator: covered, it holds up well for 3 to 4 days. The crust softens slightly by day three but the filling stays good.
- Freezer, unbaked: assemble the full pie but skip the egg wash and baking. Wrap the whole dish tightly in two layers of plastic wrap plus a layer of foil, and it keeps for up to 3 months. Bake straight from frozen, adding about 20 extra minutes and tenting the edges early since frozen dough browns unevenly.
- Freezer, baked leftovers: portion into individual containers, they keep well for up to 2 months.
Heads up: if you’re freezing the pie unbaked, skip the egg wash entirely until the day you actually bake it. Egg wash brushed on and then frozen tends to go slightly rubbery under the heat instead of turning glossy, brushing it on right before it goes into the oven gives you the same golden finish as a fresh pie.
- Reheating: cover with foil and warm a whole pie at 350°F for about 20 minutes, or a single slice for 10 minutes. The foil keeps the crust from over browning before the center is actually hot again.
- Make ahead: the filling holds in the fridge for 2 days on its own, assemble with fresh dough the day you plan to bake for the best crust texture.
Variations & Substitutions
- Spicy: add 1/2 teaspoon cayenne or one small diced jalapeño along with the onion, carrot, and celery.
- Mild and kid friendly: skip the black pepper, add an extra half cup of corn or peas, and mash the filling lightly with a fork before it goes in the crust so there aren’t large chunks to pick around.
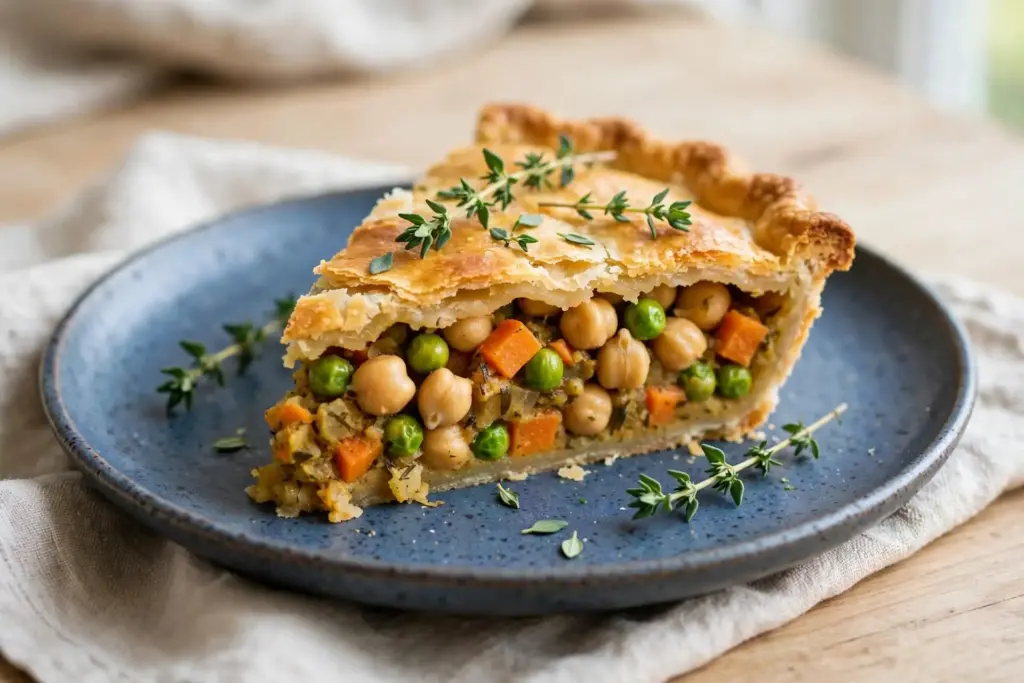
- Vegetarian: swap the chicken for two cups of chickpeas or extra sautéed mushrooms, and use vegetable broth in place of chicken broth.
- Gluten free: use a 1:1 gluten free flour blend in the roux and a gluten free pie crust, the technique doesn’t change at all.
- Leftover turkey version: after a holiday, swap in the same amount of shredded leftover turkey, it works exactly the same as chicken here.
- Shortcut topping: skip the top pie crust and use drop biscuits instead, bake at the same temperature and check for doneness by biscuit color rather than crust color.
Read Also: chicken parmesan recipe
Serving Suggestions
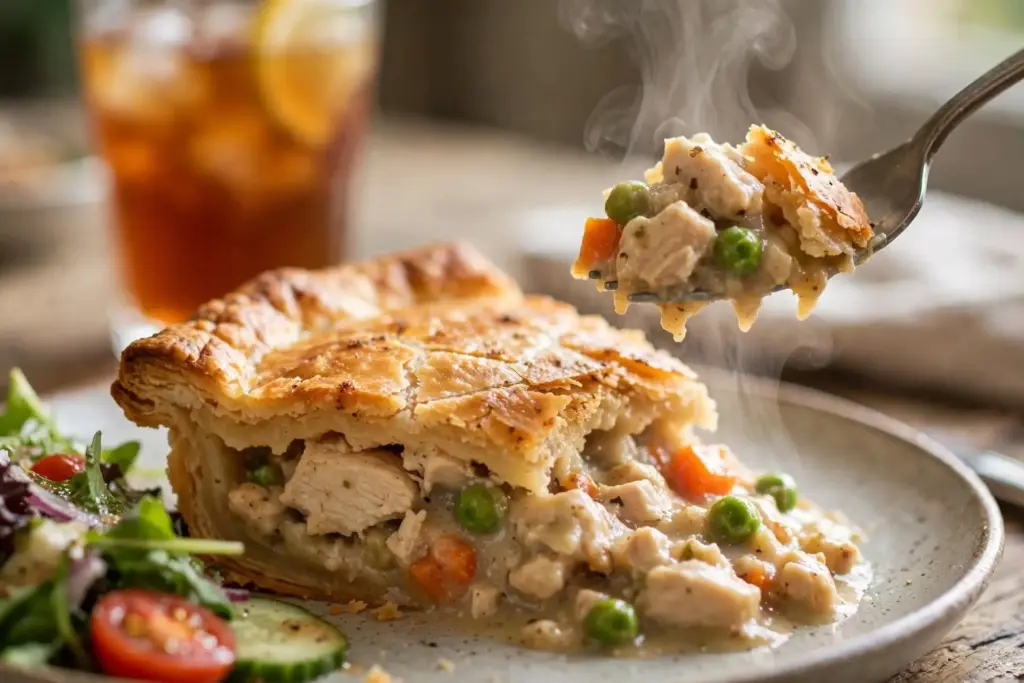
Chicken pot pie is rich enough on its own that it doesn’t need much alongside it. A simple green salad with a sharp vinaigrette cuts through the butter in the crust well, and roasted green beans add some crunch against the soft filling. If you’re making the crust from scratch, our all butter pie crust recipe is the exact one used here and works for both the top and bottom layers. For a full comfort food night, pair a slice with a light soup to start, our chicken and rice soup uses the other half of the rotisserie chicken this recipe calls for, so nothing goes to waste. Sparkling water with a slice of lemon or plain iced tea are both good drink pairings, anything too sweet competes with the richness of the gravy.
Read Also: fried rice recipe
Frequently Asked Questions
Can you make chicken pot pie ahead of time?
Yes, and it’s actually easier to plan around than baking it same day. Make the filling up to 2 days ahead and store it in the fridge separately from the dough. Assemble the pie the day you plan to bake, using cold filling and fresh dough, which also gives you the crispest crust since the dough hasn’t had time to soften from sitting filled in the fridge.
Why did my chicken pot pie filling turn out watery?
Almost always the roux wasn’t cooked long enough before the liquid went in, or the gravy was pulled off the heat too early. It needs to reach the point where it coats the back of a spoon and a finger dragged through leaves a visible trail for a second or two. If it still looks thin, whisk a teaspoon of flour into a tablespoon of the warm gravy separately, then stir that back into the pan rather than adding raw flour directly.
Can I substitute the chicken for turkey or another protein?
Leftover shredded turkey works exactly the same as chicken in this recipe, no changes needed. For a vegetarian version, swap in two cups of chickpeas or extra mushrooms and use vegetable broth instead of chicken broth. Any of these swaps use the same roux and vegetable base, only the protein changes.
How do I know when chicken pot pie is done baking?
Look for two things together: the crust should be a deep golden brown across the whole top, not just the edges, and you should see the filling actively bubbling up through the steam vents rather than just faint steam. That usually lands around 35 to 40 minutes at 400°F, but ovens vary enough that the visual cues matter more than the clock.
Can I use puff pastry instead of a traditional pie crust?
You can, and it’s a common swap on baking forums for a shortcut version. Puff pastry only goes on top, not on the bottom, since it won’t hold up under wet filling the way a pie crust does. Bake it uncovered until the pastry puffs and turns deep golden, usually 20 to 25 minutes, checking a few minutes earlier than you would with a traditional double crust.
Conclusion
Chicken pot pie isn’t a fast recipe, but almost none of the time is hands on. Most of it is the filling simmering on its own or the pie cooling before you cut it, which means you can start this on a Sunday afternoon without it taking over the whole day. The two things worth remembering above everything else here are cooking the roux until it’s truly amber and letting the filling cool before it meets the crust, get those two right and the rest of the recipe basically takes care of itself. I still make this most often the week after a rotisserie chicken dinner, when there’s exactly enough leftover meat and no real plan for it otherwise. Pin this one if you’re the type who cooks from a board on a Tuesday night scramble, it holds up well from the freezer too.
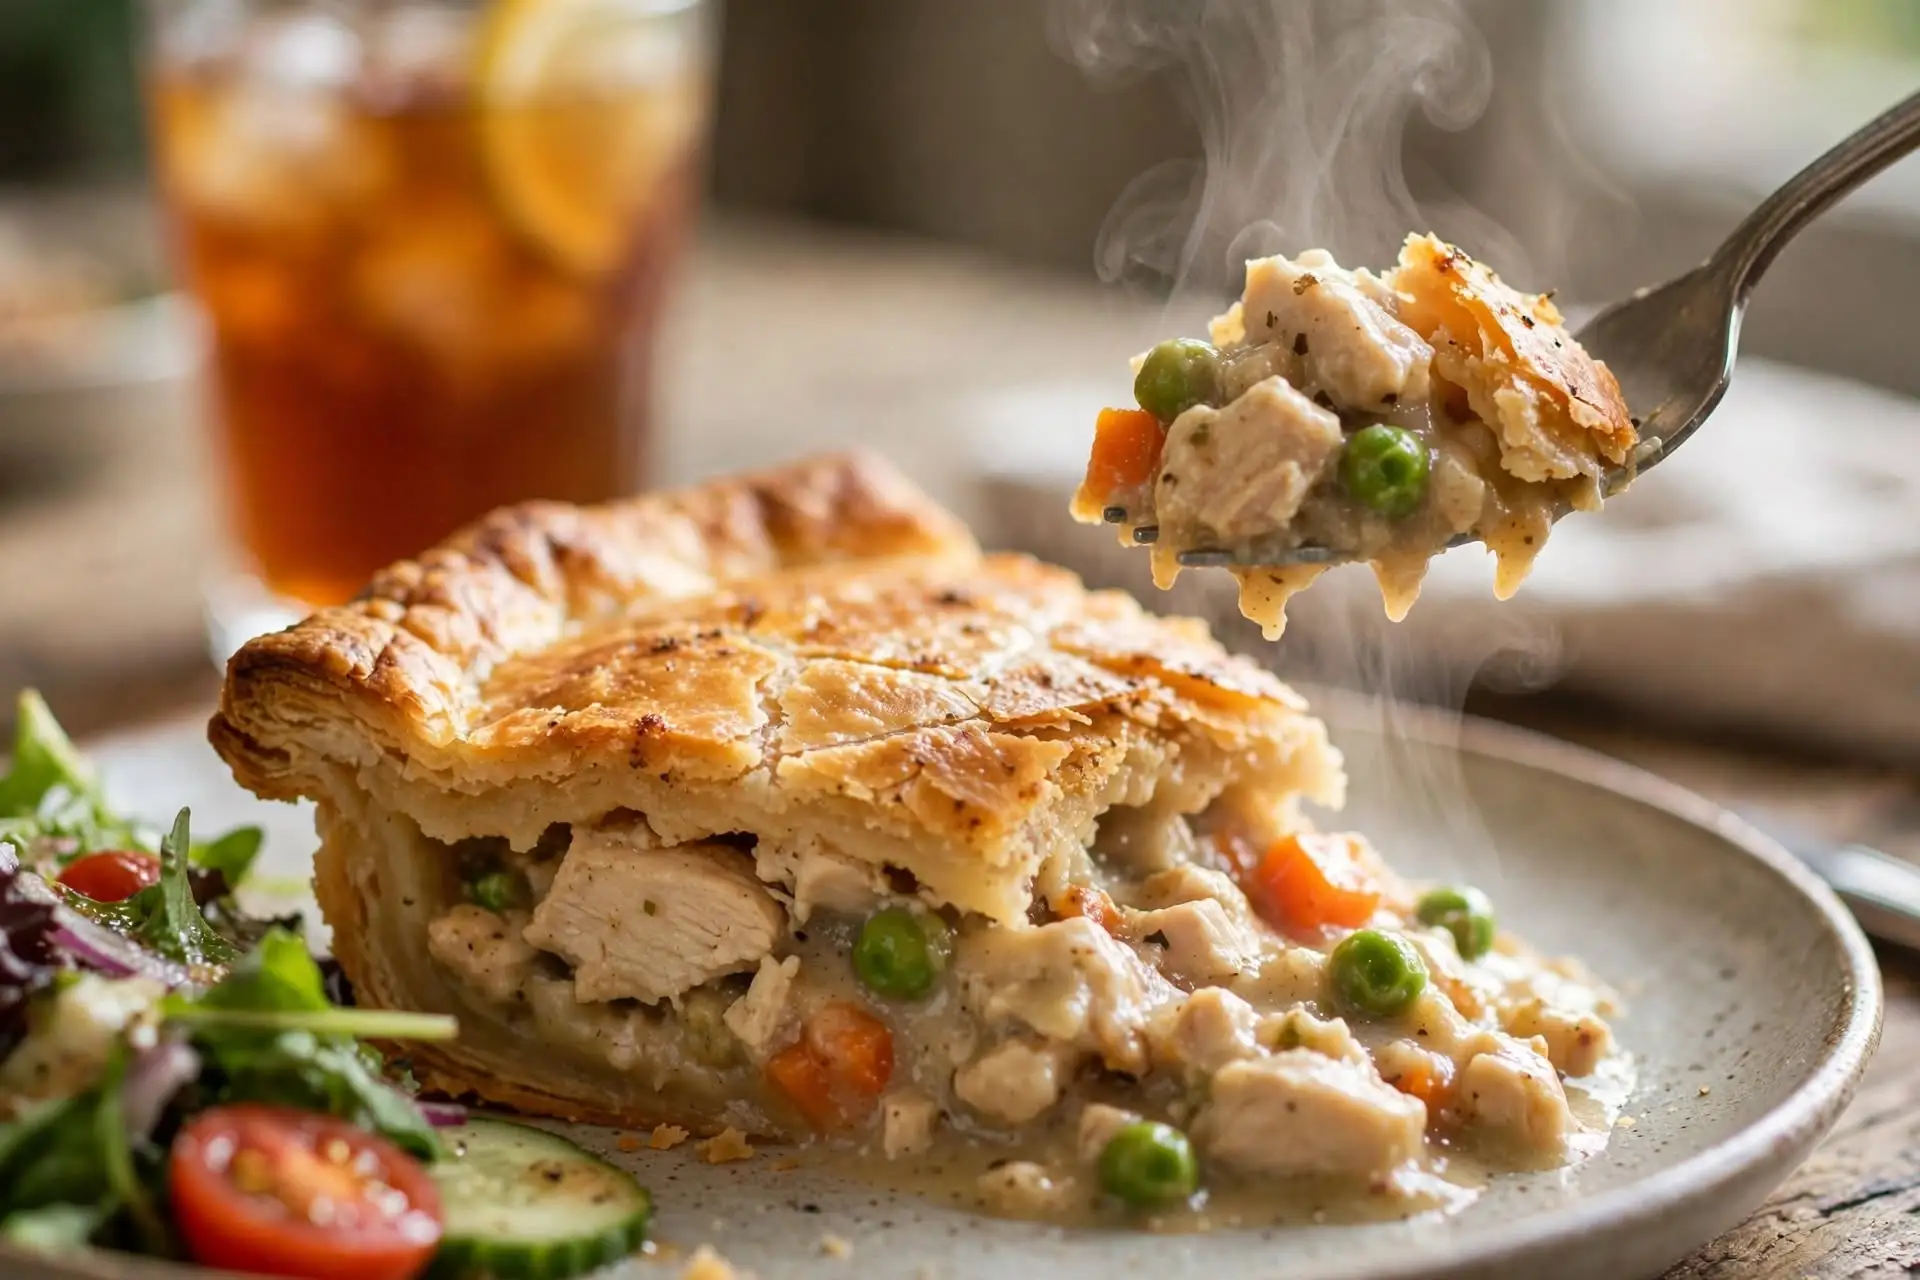
Classic Chicken Pot Pie
Ingredients
Method
- Sauté onion, carrot, and celery in butter, 6 to 7 minutes. Add garlic, 30 seconds.
- Stir in flour, cook 90 seconds until light amber and no raw flour smell remains.
- Whisk in broth, then milk. Simmer 5 minutes until it coats the back of a spoon.
- Stir in chicken, peas, thyme, and sage. Season to taste.
- Cool filling 15 minutes. Fill bottom crust, top with second crust, crimp, cut steam vents.
- Brush with egg wash. Bake at 400°F for 35 to 40 minutes until deep golden and bubbling through the vents.
- Rest 15 minutes before slicing.






3 Comments
Comments are closed.